💡 The new Changes tab replaces the old Export and Updates tabs. Whether you’re exporting content to Frontitude or updating your Figma files with the latest copy from Frontitude, the Changes tab is where you do it.
In this post you'll learn how to upload your copy and design from Figma to Frontitude and sync copy changes to keep Frontitude up to date with the latest copy.
Upload content to Frontitude
Upload new copy to Frontitude
To manage your copy using Frontitude, you'll have to upload it first by connecting the applicable frames on Figma to Frontitude.
When you first open the Frontitude plugin in a new Figma file, it will guide you to select the frames you'd like to connect. Once you connect a frame, all its copy is uploaded to Frontitude, and any changes made thereafter (either in Figma or Frontitude) will be tracked.
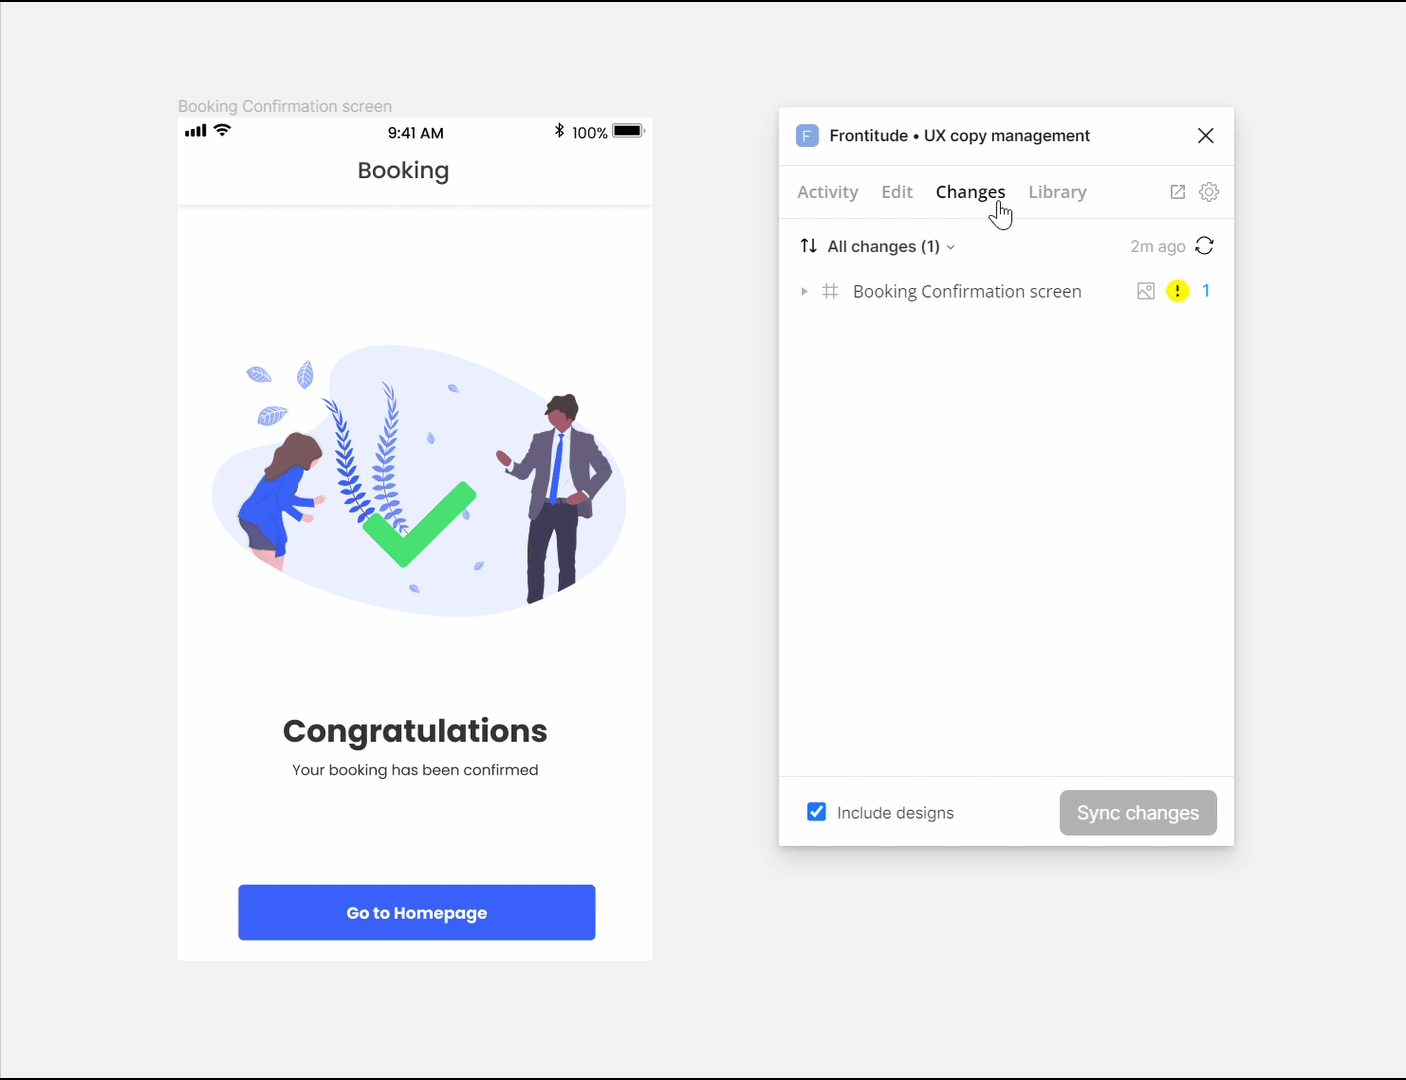
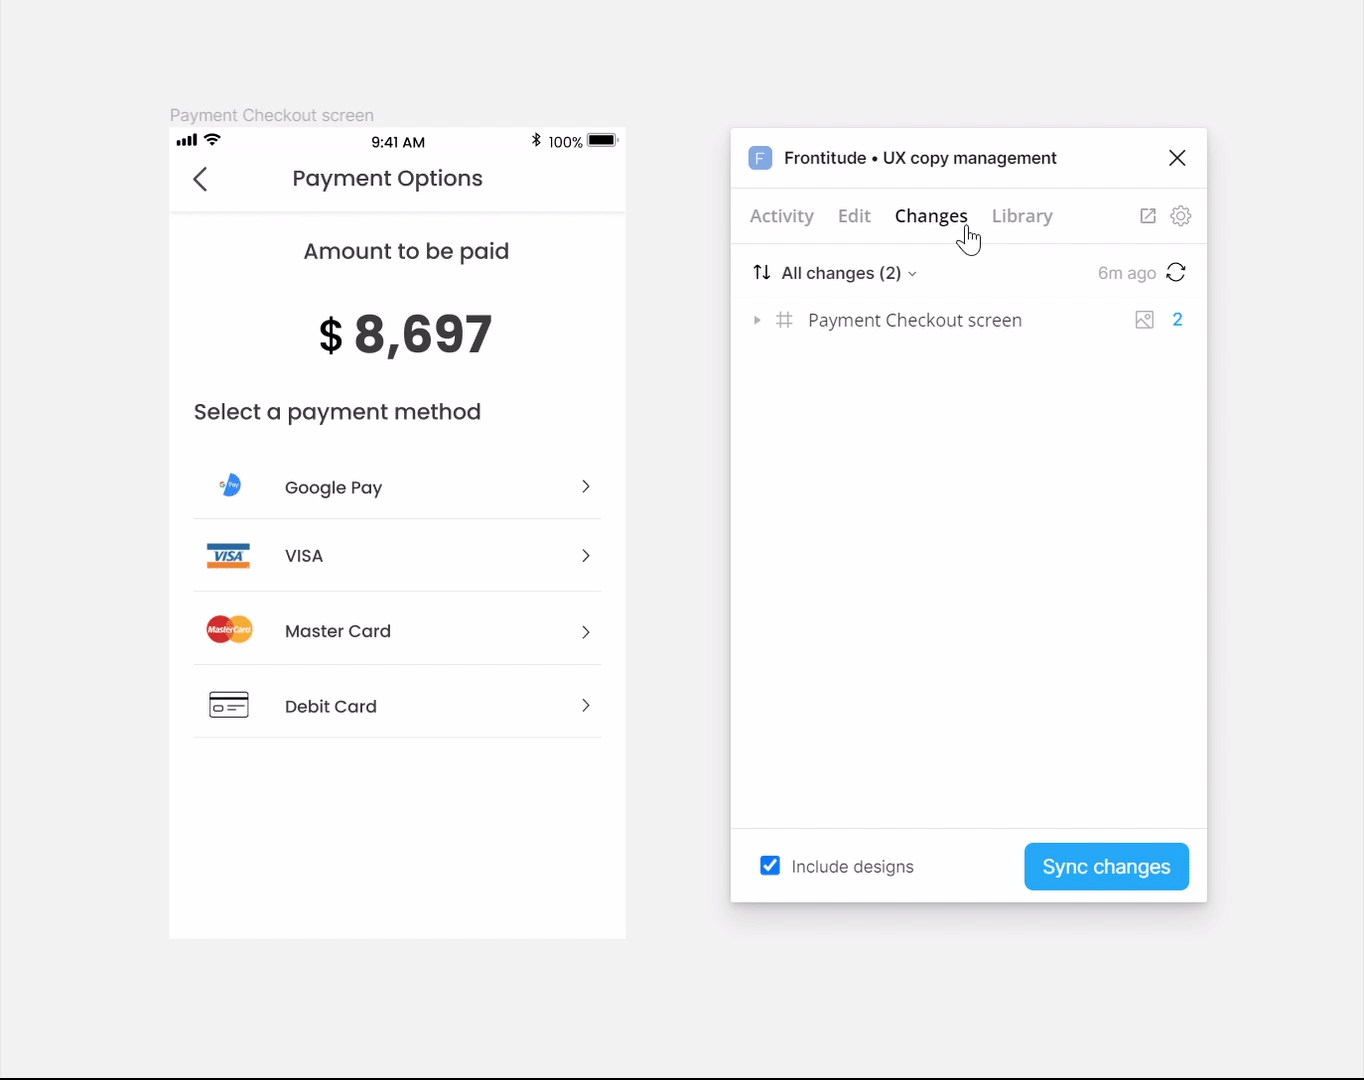
If you’ve already connected a frame, the Changes tab will display frames that are not connected. To connect them, click Sync changes.
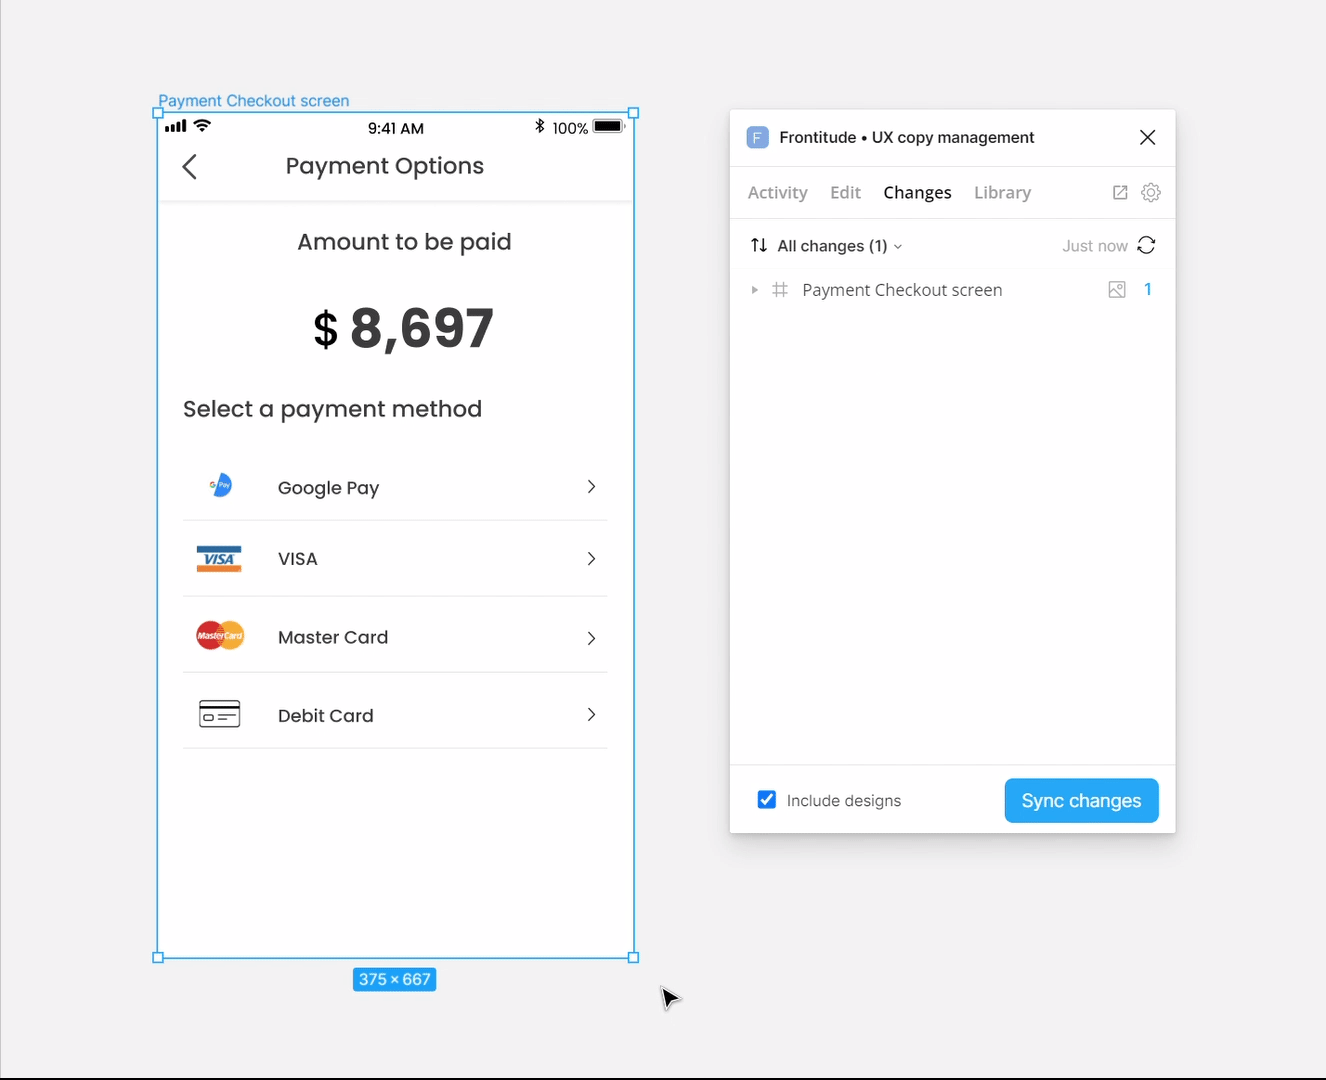
💡 The Changes tab is selection-sensitive. It displays only changes under the current selection in Figma. If the selection is empty, the Changes tab shows changes for the entire Figma file.
Upload frames' design to Frontitude (relevant if you edit copy on Frontitude)
The Changes tab allows you to upload your frames' designs to Frontitude so you can edit your copy outside of Figma in the Frontitude web app.
To do so, check Include designs at the bottom of the plugin. When checked, the sync action will also upload the selected frames' designs to Frontitude.
Keep in mind that this may take longer than uploading just the copy (without the designs) since the files are bigger.
.gif)
Track copy changes using the Changes tab
Once a frame is connected, any changes you make to any of its texts will appear under the Changes tab.
Changes are shown per selection in Figma and determined since the last time the text was synced with Frontitude. The direction dropdown gives you three options for viewing changes under this tab:
- Changes in Figma - Shows changes that were made in Figma, compared to the last version stored in Frontitude.
- Changes in Frontitude - Shows changes that were made in Frontitude, compared to the current version in Figma.
- All changes - Shows changes that were made both in Figma and Frontitude, including conflicts.
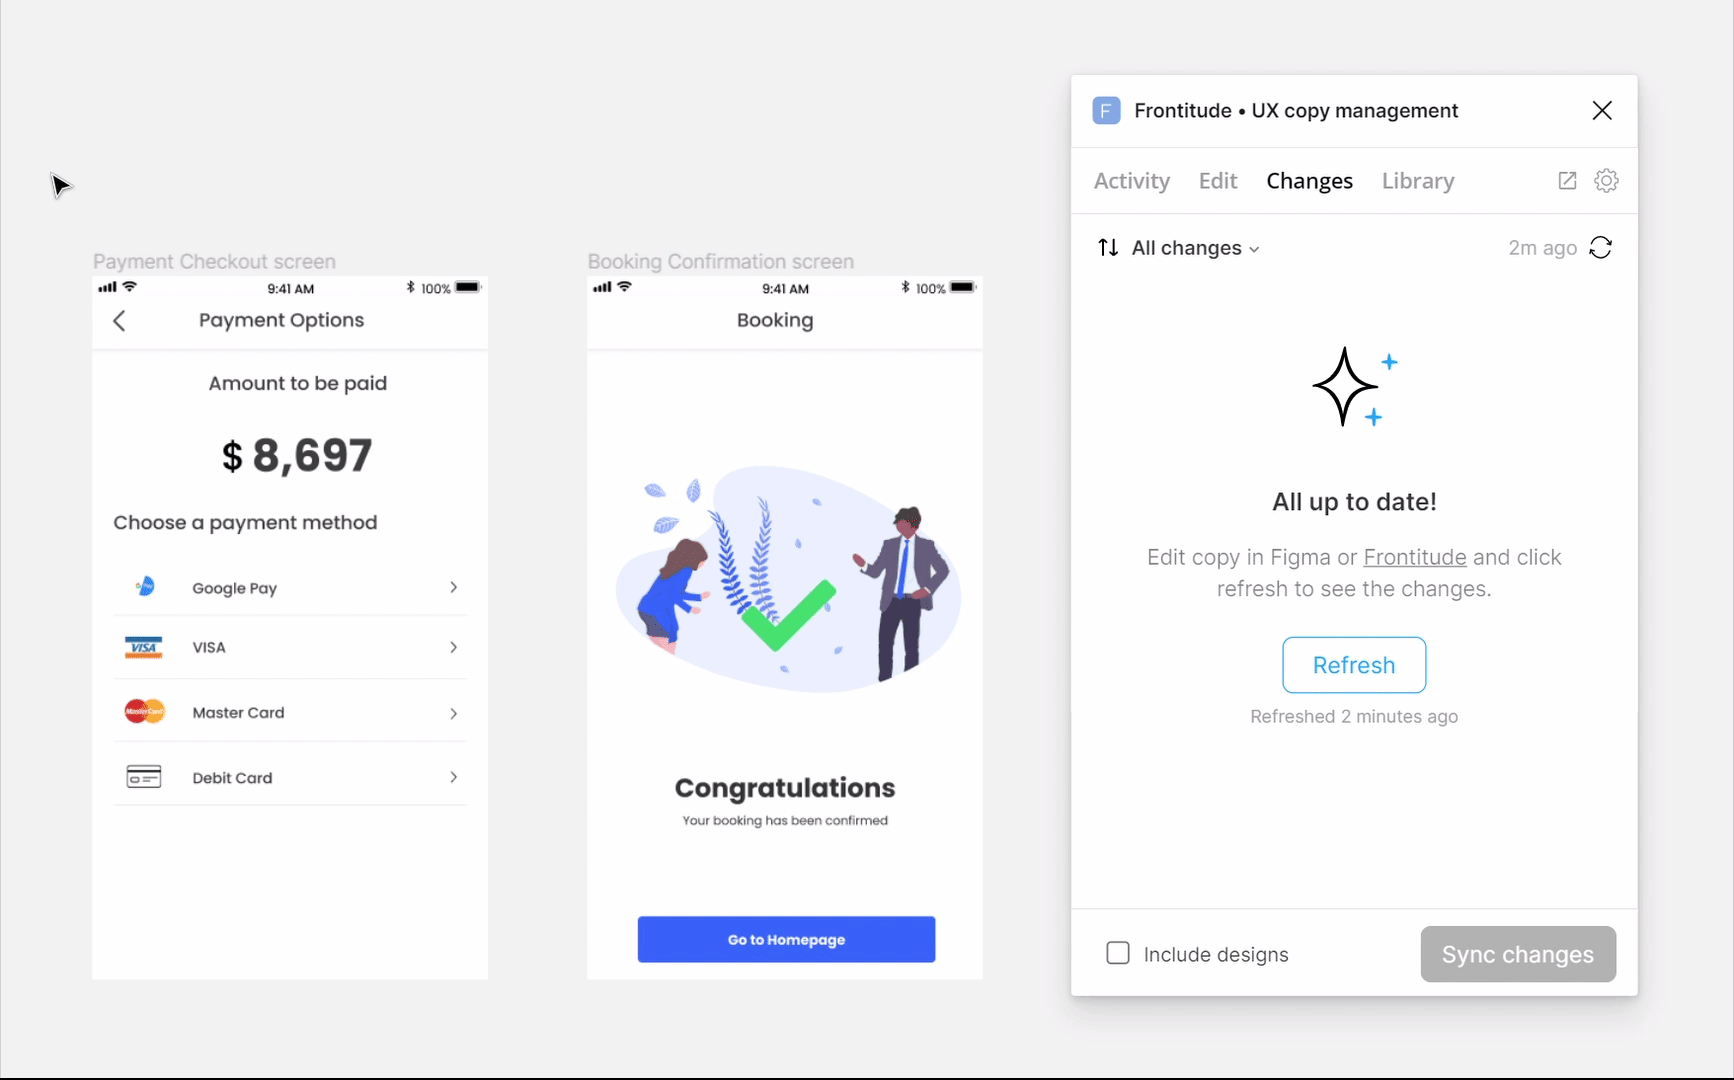
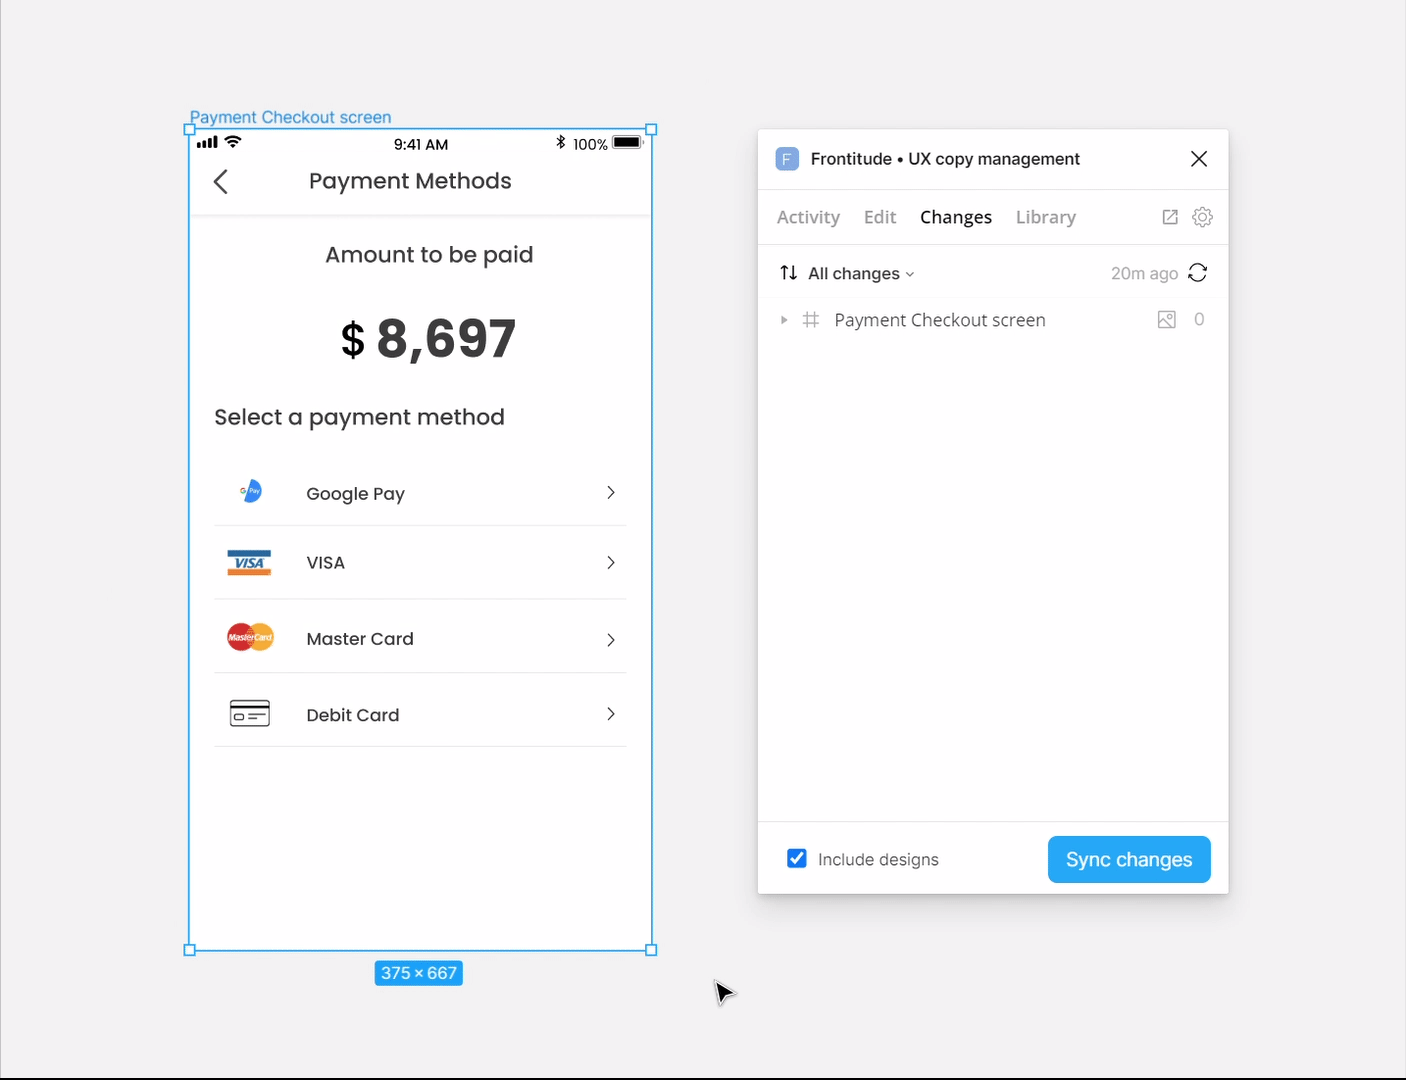
💡 The changes shown on the Changes tab have not yet been applied to both platforms. To apply them, click the Sync changes button at the bottom of the plugin.
Sync Frontitude and Figma
Push changes from Figma to Frontitude
If you made changes in Figma and would like to sync them with Frontitude:
- Select the desired frames in Figma (optional). The Changes tab is selection-sensitive. Select the frames whose changes you’d like to sync with Frontitude. Clear your selection in Figma to gather and sync all changes on this page.
- Select to view changes in Figma. To update Frontitude with the changes from Figma, click the target dropdown and select *Changes in Figma.*
- Click Push to Frontitude. All displayed changes will be recorded as new revisions on Frontitude.
Pull changes from Frontitude to Figma (relevant if you edit copy on Frontitude)
If you or one of your team members made changes through Frontitude's web app that you'd like to pull and sync with the Figma mockups:
- Select the desired frames in Figma (optional). The Changes tab is selection-sensitive. Select the frames you'd like to update. Clear your selection in Figma to update all changes made on this Figma page.
- Select to view changes in Frontitude. To update Figma with the changes from Frontitude, click the target dropdown and select *Changes in Frontitude.*
- Click Pull to Figma. All displayed changes from Frontitude will be taken and updated in the Figma mockups. You can always use Cmd/Ctrl+Z to undo the changes and return them to the Changes tab.
Sync both Figma and Frontitude (two-sided sync)
If you and your team made changes both in Frontitude and in Figma, you can sync them in a single action:
- Select the desired frames in Figma (optional). The Changes tab is selection-sensitive. Select the frames you'd like to update. Clear your selection in Figma to sync all changes across both platforms.
- Select to sync all changes. To sync both Figma and Frontitude with the latest changes on each platform, click the target dropdown and select *All changes.*
- Click Sync changes. This will take all displayed changes from both Figma and Frontitude and sync both platforms with the latest changes; it will update Figma with changes from Frontitude, as well as create new revisions for changes in Figma and record them in Frontitude.
Resolve conflicts between Frontitude and Figma revisions (relevant if you edit copy on Frontitude)
When changes are made to a specific text on both Figma and Frontitude, you'll see a conflict box showing the changes made in Figma and Frontitude. Review each and select the one you'd like to keep.